In our previous post, I explain how to install K3s on your RPI cluster, the main goal here is learning how things are working, the final results may not be as good as it should if an experience person has done it, but consider it your a step into the long learning journey.
The reason for choosing a single instance of MySQL is simple, most databases have their own configuration if you want to build a cluster or replicas, and its not a simple as just setting the number of instances to 3 or 4 .. etc, they needs different configuration, which is not our goal here.
Requirements
One of the things that I don't like about Docker/Kubernetes is that they are stateless, which means once you destroy your instance everything is gone, which makes it not so suitable for databases, which is why having a way to persist your data is important, which leads to the fact that there are many solutions out there, and I won't discuss any ?♂️ I'll focus on using the local storage here, and maybe later I'll provide you with a solution to backup your data to external source.
So, now that I clear this out, lets talk about what do we need to MySQL:
- We need to have a custom configuration.
- We need to configure a Storage.
- We need to configure a port to access our instance.
The reason we need the custom configuration is to allow any IP to connect to our instance. Since our Cluster is not exposed to outside our network, any local IP will be able to connect to our MySQL instance.
Custom Configuration
MySQL has a .cnf file that you can define and use to overwrite many of the default configuration values, these files called option files.
Our option file is simple, and will just change two options, bind-address and the port, and it will look like:
[mysqld]
bind-address = 0.0.0.0
port = 3306
Storage Configuration
There is a lot of options here, but you need to familirize yourself with what K3s storage provides, remember K3s is a slimier version of K8s so not everything is available for you to use. Luckily for us, the local storage option is available.
So, what we will define is a local storage with read/write access permission and with 5GB of space, we can use the following to create it:
apiVersion: v1
kind: PersistentVolumeClaim
metadata:
  name: mysql-pvc
  namespace: mysql-server
spec:
  accessModes:
    - ReadWriteOnce
  storageClassName: local-path
  resources:
    requests:
      storage: 5Gi
I know, you are asking what I am going to do with those and how do can I use them, just wait a bit, we will be using kubectl (which is already installed on your RPI) to apply them, just give me a few more min.
Port Configuration
Since in our custom configuration file we specify that we need to use port 3306 for our instance (which is the default port for MySQL), we just need to make sure this port is open to machines outside of our network, so we can use the following code to do that:
apiVersion: v1
kind: Service
metadata:
  name: mysql
  namespace: mysql-server
spec:
  selector:
    app: mysql
  type: LoadBalancer
  ports:
    - name: mysql-port
      protocol: TCP
      port: 3306
      targetPort: 3306
Don't focus much on the code, but focus on the port and the targetPort, basically and simplified version port is what you will direct your connection to, and targetPort is what your pod will receive, but remember that your pod needs to have this port exposed to.
More about the topic of port/targetPort can be found here, here and here.
Some of these topics may not be 100% clear to me, so I might also fail to explain, so if you have better way to explain it or know what I am doing wrong, please let me know.
Deployment
Now that we have the most basic information we need, we gather everything in two files, one big yml file and a small .cnf file.
Lets call our yaml file mysql.yml and inside of it lets add the following:
---
apiVersion: v1
kind: PersistentVolumeClaim
metadata:
  name: mysql-pvc
  namespace: mysql-server
spec:
  accessModes:
    - ReadWriteOnce
  storageClassName: local-path
  resources:
    requests:
      storage: 5Gi

---
apiVersion: v1
kind: Service
metadata:
  name: mysql
  namespace: mysql-server
spec:
  selector:
    app: mysql
  type: LoadBalancer
  ports:
    - name: mysql-port
      protocol: TCP
      port: 3306
      targetPort: 3306

---
apiVersion: apps/v1
kind: Deployment
metadata:
  name: mysql
  namespace: mysql-server
spec:
  replicas: 1
  selector:
    matchLabels:
      app: mysql
  template:
    metadata:
      labels:
        app: mysql
        name: mysql
    spec:

      nodeSelector:
        kubernetes.io/hostname: worker-1

      containers:

        - name: mysql
          image: ubuntu/mysql:edge
          imagePullPolicy: Always
          ports:
            - name: mysql
              containerPort: 3306
          volumeMounts:
            - name: mysql-config-volume
              mountPath: /etc/mysql/mysql.conf.d/my-custom.cnf
              subPath: my-custom.cnf
            - name: mysql-storage
              mountPath: /var/lib/mysql
          env:
            - name: MYSQL_ROOT_PASSWORD
              value: "secret"
            - name: MYSQL_INITSB_SKIP_TZINFO
              value: "yes"

      volumes:

        - name: mysql-config-volume
          configMap:
            name: mysql-config
            items:
            - key: main-config
              path: my-custom.cnf

        - name: mysql-storage
          persistentVolumeClaim:
            claimName: mysql-pvc
Now that we have everything we need, lets start the deployment process:
Deployment process
These commands should be run from within your Master PI.
First we need to create the namespace for our service, as I like to separate everything using the namespace, we do that by executing the command
kubectl create namespace mysql-server
Second, we create something called the configuration map, which will holds our MySQL custom configuration
kubectl create configmap mysql-config --from-file=main-config=my-custom.cnf -n mysql-server
Lastly, we need to create the storage, the service and the deployment, luckily we have stored those all inside our mysql.yml file we can run the following command to create them at once.
kubectl apply -f mysql.yml
To check that everything is running we can run the following command:
kubectl get svc -n mysql-server
If everything was okay, you will get a result similar to this one
NAME    TYPE           CLUSTER-IP     EXTERNAL-IP                     PORT(S)          AGE
mysql   LoadBalancer   10.43.53.218   192.168.68.110,192.168.68.111   3306:31737/TCP   7d23h
I have a small github repo which contains all the code if you like to check, you can find it here.
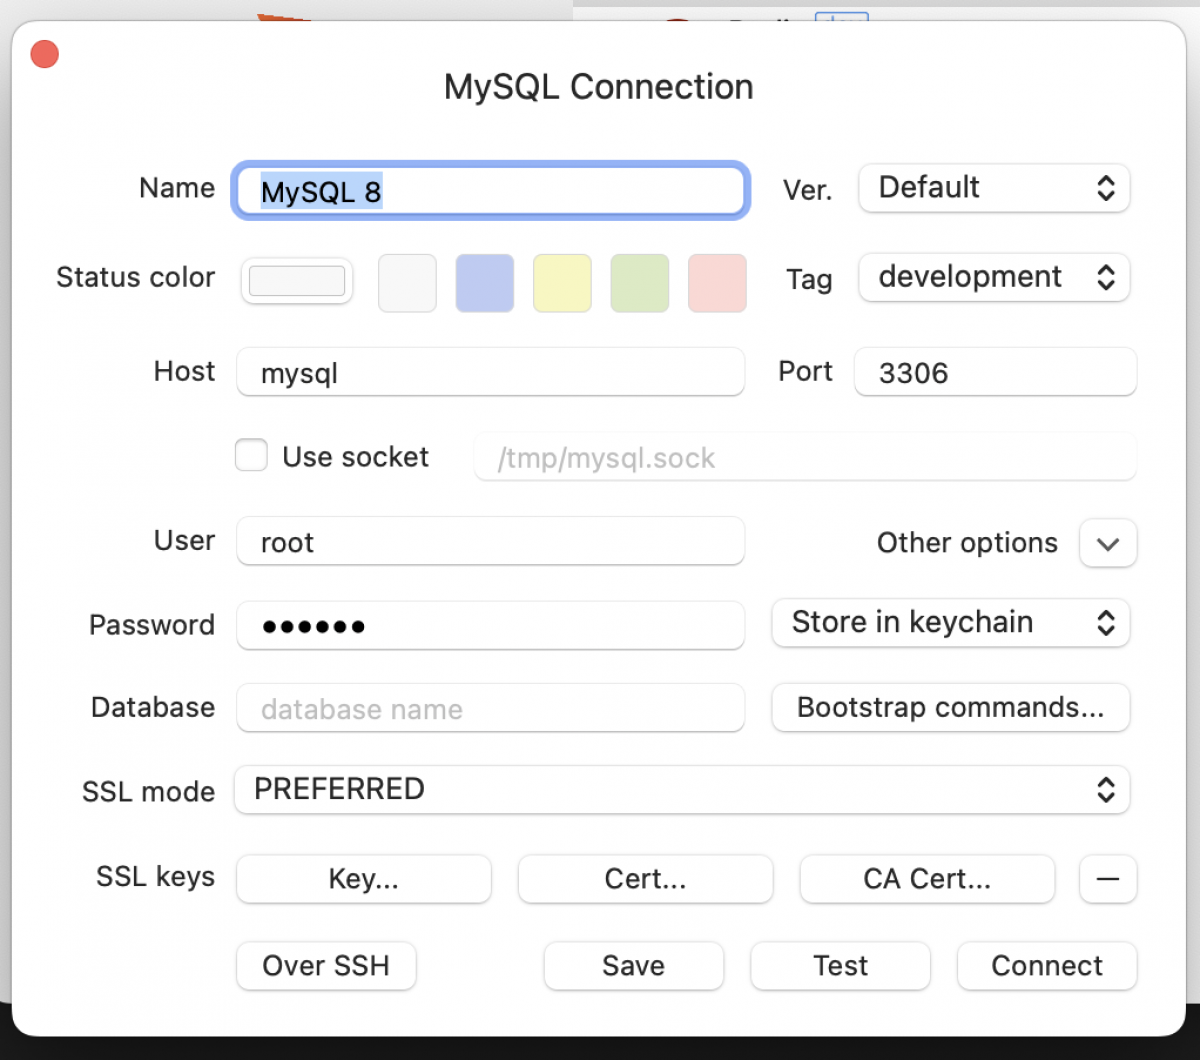
Now, you can connect to it via any apps using the following info (password is "secret").
Remember to change the host to the IP of your RPI, as for me I have the IP aliased to the service name mysql in my /etc/hosts file.